- AI Fire
- Posts
- 😲 Canva's 10 New Updates: Is Your Old Method Now Useless?
😲 Canva's 10 New Updates: Is Your Old Method Now Useless?
Canva's October update is huge. It adds 10 new features like forms, emails, and a new video editor. You can also design 3D boxes and use better AI.
Neil Phan
November 03, 2025

Which new Canva update are you MOST excited about? |
Table of Contents
If you are using Canva for work, for your company, or for your personal brand, you will be very happy to know about these new updates.
In October 2025, Canva didn't just fix small bugs. They gave us 10 major updates that completely change how we work.
Just think: What if you could make professional emails, get information from forms, edit videos more easily, and even design your own packing boxes... all without leaving Canva?
Well, now you can do all of that.
In this article, I will show you every update. I will show you how to use each feature with simple, easy-to-understand steps. It doesn't matter if you are a beginner or have used Canva for years, these updates will save you time and help you make better content.
Let's get started.
Part 1: Forms - Finally, You Can Collect Real Responses

Do you remember when Canva launched Sheets? Everyone thought it was great. Now, we have something even better: real, working forms that you can add to any design.
1. What’s Special About This?
You are not just adding a picture of a form to your page anymore. These forms actually work. When someone fills them out, you get their answers.
2. Where Can You Use Forms?
There are many ways to use them:
Add them to your Canva website.
Put them in presentations.
Collect emails for your newsletter.
Get feedback after you share slides.
Let people sign up for your events.
Create surveys or polls.
3. How To Add A Form To Your Design
Here are the exact steps:
Step 1: Open any design you want.
Step 2: Look at the left toolbar and click the Elements tab.

Step 3: In the categories section, you will see Forms. Click it.
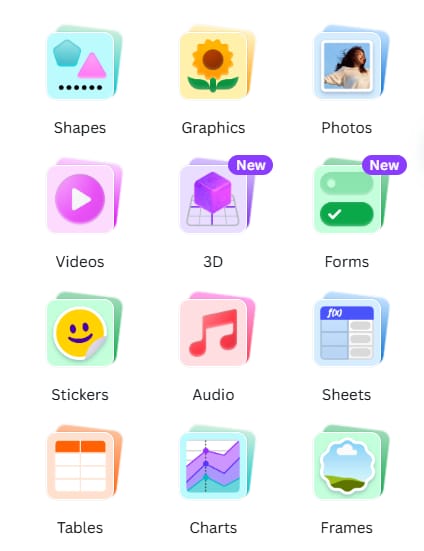
Step 4: Choose a template you like and click to add it to your design.
Step 5: Click the Edit button on the form. You can add question types like: multiple choice, checkboxes, short text answers, and more.
4. Making Your Form Match Your Brand
Just like everything else in Canva, you can change your form:
Change the colors to match your brand.
Update the fonts.
Add your logo.
5. Getting Your Answers
Here is the best part:
Step 1: After people start filling out your form, click on it in your design.
Step 2: You will see an option to View Responses.

Step 3: From here, you can add the answers to a Canva Sheet or download them as a CSV file (a simple Excel file) to use.
Everything stays in one place. You don't need to use many different tools.
6. My Tip
A good form often comes with an offer. Don't just say "sign up." Try adding the form to the end of your website with a message like: "Get my 5 top tips for..." or "Download the free checklist." This gives people a reason to give you their email.
Learn How to Make AI Work For You!
Transform your AI skills with the AI Fire Academy Premium Plan - FREE for 14 days! Gain instant access to 500+ AI workflows, advanced tutorials, exclusive case studies and unbeatable discounts. No risks, cancel anytime.
Part 2: Emails - Build Beautiful Emails Inside Canva
If forms were not enough, get ready for this: You can now create real emails in Canva. Not just email graphics, but whole, working emails that you can send.
1. Why Is This Important?
Canva is becoming an all-in-one tool. You don't need to switch between a design tool, an email tool, and other platforms anymore.
2. How To Create Your First Email
Step 1: From the Canva homepage, look for the "Email" icon and click it.

Step 2: You will go right to the email editor.
Step 3: Choose from professional templates or start with a blank page.

Step 4: You can drag and drop building blocks: headers, footers, buttons, text blocks, and images.
3. Testing Your Email Before Sending
You should always test your emails first.
Step 1: Look for the "Send test email" option.

Step 2: Type in your own email address.
Step 3: Check how it looks in your inbox, especially on your mobile phone.

4. Sending Or Exporting Your Email
When your email is perfect, you have options:
Option 1: Send with Gmail - Connect your Gmail account and send directly.
Option 2: Import to Mailchimp - Use the Mailchimp connection to send to your list.
Option 3: Download as HTML - Download the HTML file (this is the "code" of the email) and upload it to any email marketing tool you use (like ConvertKit, ActiveCampaign, etc.).
5. My Tip
This feature is great for making your emails look exactly like your brand. But be careful. Sometimes, emails with too many pictures go into the 'Promotions' tab in Gmail. My advice is to keep it simple. Use your brand colors and fonts, but focus on the text. A simple, clean email often works best.
Part 3: Mailer Boxes - Design Custom Packaging
This update surprised me. You can now design custom mailer boxes in Canva. If you sell physical products, this is amazing.
1. Where To Find It
This feature is a little hidden:
Step 1: From your homepage, click the Print tab.

Step 2: In the search bar, type "Mailer Box".
Step 3: You will see the mailer box option.

2. What You Get
When you open the box designer, you will see:
A complete design (a mockup) laid out flat.
All the sides of the box, ready for you to design.
You can add any graphics, text, or logos you want.
3. The Cool Preview Feature
This is what makes it really special:
Step 1: After you design your box, look for the preview button.
Step 2: Click it to see a 3D model of your box. You can turn it, see different angles, and see how it looks in real life.

4. My Tip
Don't just put your logo on the top. Use the inside of the lid! When someone opens it, put a 'Thank You' message or your social media accounts. It's a small detail that makes your brand feel special and more professional.
Part 4: The New Video Editor (Video 2.0)
The video editor got a really big upgrade. If you create video content, you will see the difference right away.
1. What's New: The New Timeline
The biggest change is the new timeline at the bottom of your video editor. It looks much more professional and gives you better control.
2. New Feature: Layering
This is a big change. You can now work with layers in your video timeline.
Before: Everything had to fit inside one clip.
Now: You can drag and drop any element (text, graphics) onto any point in your video, and it appears as its own layer.
3. How To Use The New Timeline
Step 1: Open any video design in Canva.
Step 2: You will see the new timeline at the bottom.

Step 3: To add an element (like text) at a specific time:
Move the playhead (the vertical line) to where you want it to appear.
Drag the element from the sidebar onto your design.

Step 4: To change the timing:
Click and drag the element's bar in the timeline. Make it longer or shorter.
4. Magic Video (Mobile Only)

There is also a new AI feature called Magic Video, but it only works on the Canva mobile app right now.
What it does:
It takes your photos and videos.
It turns them into an edited video automatically.
You can write a description of what you want.
5. My Tip
These new layers are great for 'B-roll'. B-roll is the extra footage you show while you are talking. You can have your main video on one layer, and then add a short clip of what you are talking about on a layer above it. This makes your videos look much more professional.
Part 5: Gradient Text
This one is simple but very powerful. You could add gradients (color fades) to shapes before, but now you can add gradients to text.
1. Why People Love This
Gradient text looks modern and eye-catching. It's perfect for:
Headlines
Social media posts
Posters and flyers
2. How To Create Gradient Text
Step 1: Select the text you want to add a gradient to.
Step 2: Look at the top toolbar and find the color panel (the 'A' with a color line under it).
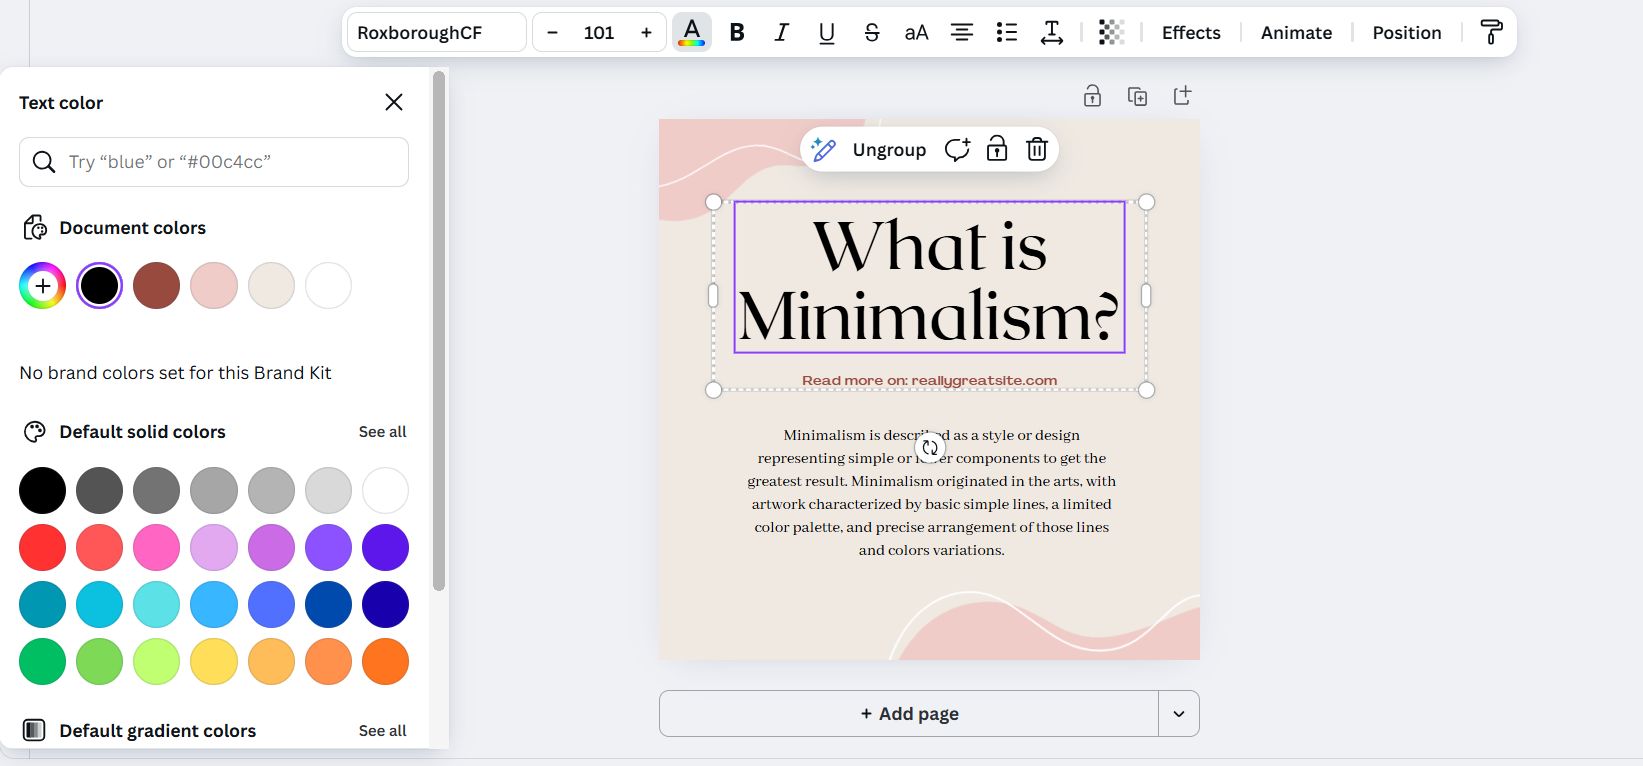
Step 3: Click the color box.
Step 4: You will see a new Gradient section – click it.

Step 5: Choose your colors. You can add more than two colors.
Step 6: Change the angle and direction of the gradient.
3. My Tip
Gradient text looks great, but sometimes it can be hard to read. My rule is: if you use gradient text, make the font bold and big. It is best for a main headline, not for small text. Also, make sure at least one of the colors is very different from your background.
Part 6: Style Match
The Style Brush tool just got an upgrade. Now you can make any graphic match the style of another graphic with just a few clicks.
1. The Problem This Solves
You are making a design. Everything looks good together. Then you need to add one more element, but you can't find anything in the same style. You find something close, but the colors or style don't match.
2. Example Of How To Use Style Match
Imagine you have a design with a cute, cartoon cat. It has soft colors and thick black lines.
But you need to add a dog. You find a dog graphic, but it's a realistic pencil sketch. They don't match.
Here is how to fix it:
Step 1: Select the element with the style you want to copy.
Step 2: At the top of the screen, click the Style Brush tool (it looks like a paint roller).
Step 3: Click "Copy art style".

Step 4: Now click the element you want to change.

3. My Tip
This works best with graphics, not photos. It is AI, so sometimes it is not perfect. If it doesn't work the first time, just try it again. This is a huge time-saver for making your designs look like they belong together.
Part 7: Canva Grow - Your Ads System
Canva just added a whole new section for advertising, called Grow. If you run ads for your business (or want to start), this will make your life much easier.
1. What Is The Grow Tab?
It is an all-in-one place inside Canva where you can:
2. Creating Ads With AI
This feature is really smart:
Step 1: In the Grow section, choose "Create ad with AI".

Step 2: Type in your website URL.
Step 3: The AI will scan your website to understand your business, products, and brand style.

Step 4: Based on this, it creates ads that match your brand.
3. Publishing Directly To Meta
This is where it gets really easy:
Step 1: When your ad is ready, click "Publish To Meta".

Step 2: Connect your Facebook/Instagram ad account (you only do this once).
Step 3: Launch your ad without leaving Canva.
4. My Tip
This is a great starting point, but don't just 'set it and forget it'. The AI gives you ideas, but you know your customers best. Use the AI to make the first draft, then change the text to speak directly to your audience. Always test 2 or 3 different versions of your ad to see which one works best.
Part 8: The New Brand Kit - Better Control Over Your Brand
The Brand Kit got a major upgrade. If you care about keeping your designs consistent and on-brand, this is important.
1. What Changed?
The Brand Kit looks completely different, but it's not just about looks – you get way more control.
2. New Features In The Brand Kit

Custom Sections: You can now create your own sections. For example, a section for your "Blog Brand" and a section for your "Podcast Brand."
Brand Guidelines with Dos and Don'ts:
Add specific rules on how to use your brand.
Show examples of what to do (example: "always use this logo on a light background").
Show examples of what not to do (example: "do not stretch the logo").
3. Setting Up Your Brand Kit With AI
This is the time-saver everyone needs:

Option 1: Using your website
Type in your company website URL.
The AI scans your website and automatically gets your colors, fonts, and logo.
Option 2: Using a PDF
If you already have brand rules in a PDF, upload it.
The AI will read your PDF and automatically fill in your Brand Kit.
4. My Tip
Even if you are a one-person business, use this feature. Set up your Brand Kit. It saves so much time. When you open a new design, all your colors and fonts are right there. You don't have to remember your color codes (like #FF5733) every time. This is the secret to making all your content look professional and connected.
Part 9: Canva AI Upgrades - Smarter, Faster
There are so many AI improvements in this update, we need to break them down.
1. AI Uses Your Brand Kit
Finally! When you use AI to create images or designs, they can now use your brand colors and fonts.
This means you get better starting points, need to edit less, and can create faster.
2. Get Assets From Cloud Storage

You can now connect your cloud storage accounts:
Why is this important? The AI can use your own files and assets when it creates designs.
3. AI-Powered Design Search
In the Design tab, you can type a full sentence about what you are looking for.
Example of a new prompt:
"An Instagram post template to announce a 25% weekend sale for my handmade candle shop. Make it look cozy and elegant."
4. My Tip
Generative AI is powerful, but 'AI as a Team Member' is my new favorite tool. Use it when you feel 'stuck'. Ask it: "@Canva AI, give me 5 different headline ideas for this poster." It's like having a creative assistant 24/7.
Part 10: Canva Code 2.0 - Data Collection And Better Editing
The code widget features got two big updates that make them much more useful.
1. Collecting Data Into Sheets
This is huge. Your code widgets can now collect data and send it automatically to Canva Sheets.

Examples:
You make a quiz. When someone finishes, their score can be saved.
You make a calculator. The results can be logged.
You make a survey. The answers are stored.
How to set up:
Create a code widget.
Look for the data icon and click "Connect to sheet".
2. Editing Widgets In The Editor

The second big update is that you can now easily change the look of the widget without touching any code.
How to edit:
Select your code widget.
Editing options will appear.
You can now change colors, fonts, and basic text.
3. My Tip
This update changes widgets from 'toys' to 'tools'. Start simple. Create a "Was this article helpful?" widget with 'Helpful', 'Okay', 'Not Helpful' buttons. Connect it to a sheet. Put it at the bottom of your Canva website or newsletter. Now you are collecting real feedback that you can use.
Your Next Steps
These 10 updates really change the game. Let's review what we learned:
Forms: Collect real answers from any design.
Emails: Build and send beautiful emails without leaving Canva.
Mailer Boxes: Design custom packaging with 3D previews.
Video Editor 2.0: More control with layers and a better timeline.
Gradient Text: Add beautiful color fades to your text.
Style Match: Make any graphic match your design.
Canva Grow: A complete ads system with insights.
New Brand Kit: More control and AI-powered setup.
Canva AI Upgrades: Smarter generation, 3D elements, and more.
Canva Code 2.0: Data collection and easier widget editing.
What Should You Do Now?
Don't feel overwhelmed.
Start small: Pick one feature that solves a problem you have right now. If you need to collect emails, start with Forms. If you struggle with video editing, try the new video editor.
Experiment: Canva is a tool that rewards you for playing around. Open a design and try these features.
Successful creators are the ones who learn to use tools like this. You don't need expensive software or complex systems. Everything you need is right here in Canva.
Your turn: Which update are you most excited to try? Start today, and see how much faster you can create content that looks professional and on-brand.
If you are interested in other topics and how AI is transforming different aspects of our lives or even in making money using AI with more detailed, step-by-step guidance, you can find our other articles here:
Earn Money with MCP in n8n: A Guide to using Model Context Protocol for AI Automation*
We Tested Grok 4... And The Results Are NOT What You Think!
*indicates a premium content, if any
How useful was this AI tool article for you? 💻Let us know how this article on AI tools helped with your work or learning. Your feedback helps us improve! |
Reply