- AI Fire
- Posts
- 🛠️ Forget 99% of Nodes! Master Your n8n Workflow With Just 14
🛠️ Forget 99% of Nodes! Master Your n8n Workflow With Just 14
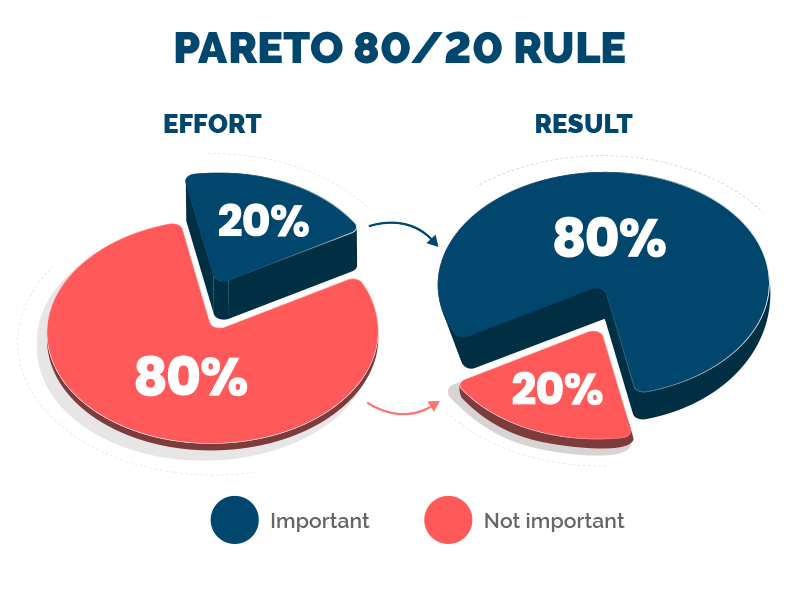
The 80/20 guide to n8n mastery. These 14 essential nodes are all you need to build 80% of any professional n8n workflow
Max Anh
August 21, 2025

How would you rate this article on AI Automation?We’d love your feedback to help improve future content and ensure we’re delivering the most useful information about building AI-powered teams and automating workflows |
Table of Contents
Master n8n Workflows with Only 14 Nodes (And Skip "Tutorial Hell" Forever)
We've all been there. You discover a powerful new tool like n8n, your mind explodes with possibilities and you dive headfirst into the learning process. But then, you fall into the trap. You find yourself in "tutorial hell" - a bewildering maze of endless videos, complex documentation and a thousand different features. You spend weeks trying to learn every single node, getting overwhelmed by the sheer volume of options and you never actually build anything that creates real value.
It's the classic beginner's mistake. But what if there was a better way? What if, instead of trying to learn everything, you could focus only on the vital few things that truly matter?
This is the 80/20 approach to mastering n8n workflows. After building over 150 profitable, real-world automations, a clear pattern has emerged: n8n may have over 1,000 nodes but you only need to deeply understand 14 of them to build 80% of the workflows you will ever need.
This is not just a theory; it's a proven system. Once you shift your mindset from "learn everything" to "master the essentials", everything changes. You stop being a perpetual student and start being a professional builder. This guide is your map out of tutorial hell.
The 14-Node Mastery Framework
These 14 essential nodes can be organized into five core categories. Think of this as your "character build" for becoming an n8n power user. Master these five skill trees and you'll be able to tackle any automation quest that comes your way.
Execution Essentials (The Laws of Physics).
Basic Triggers (The Starting Pistols).
Universal Data Processing (The Heavy Machinery).
Connectivity & APIs (The Gates to the World).
AI Integration (The Brains of the Operation).
Let's dive into each category, with real-world examples that you can implement immediately.
Category 1: The Laws of the n8n Universe (Execution Essentials) ⚖️
Before you ever touch a single specific node, you must first understand the fundamental "laws of physics" that govern the entire n8n universe. Getting these five core concepts wrong is the source of 99% of all beginner frustration.
Think of it this way: you wouldn't try to build a skyscraper without first understanding the law of gravity. Likewise, you can't build a stable and predictable workflow without mastering these five laws.
1. The Law of Gravity (Flow Direction and Order) 🧑⚖️
Data in an n8n workflow behaves like water. It always flows downhill (from left to right) and from the highest point to the lowest point (from top to bottom). You can never make data flow backwards or uphill.
This is especially critical when your workflow splits into multiple paths or "branches" coming from a single node. The top path will always execute completely from start to finish before the second path even begins. If you have a task in a lower branch that depends on something happening in an upper branch, this law ensures it will always work in the correct order.

2. The "One Thing at a Time" Law (Sequential Execution) ⏲️
An n8n workflow is a master chef but it's a chef with only two hands. It can only cook one dish at a time. Even if you give it five different recipes (parallel branches), it will meticulously prepare the first recipe from start to finish before it even looks at the ingredients for the second one.
n8n does not multitask. Node A must finish its job completely before Node B can start. This is crucial for performance planning. The total execution time of your workflow will be the sum of the time it takes to run each of its branches, one after the other.
3. The "Assembly Line" Law (The One-Per-Input Rule) ⌛
This is the most important law for managing your costs and understanding how your workflow will behave. Every node in n8n is a station on an assembly line and this law states that the station will perform its action once for every single item that comes down the conveyor belt.
Example: Imagine you have a single data object that contains a list of 500 new leads. If you send that single box of leads to an AI node, the node will run once.
However, if you first use a "Split Out" node to unpack the box and place the 500 individual leads onto the conveyor belt, the AI node will now run 500 separate times.
Understanding this is the key to avoiding costly mistakes. Accidentally sending 500 individual items to an expensive API or AI node can be the difference between a workflow that costs a fraction of a penny and one that costs you a significant amount of money.
Learn How to Make AI Work For You!
Transform your AI skills with the AI Fire Academy Premium Plan - FREE for 14 days! Gain instant access to 500+ AI workflows, advanced tutorials, exclusive case studies and unbeatable discounts. No risks, cancel anytime.
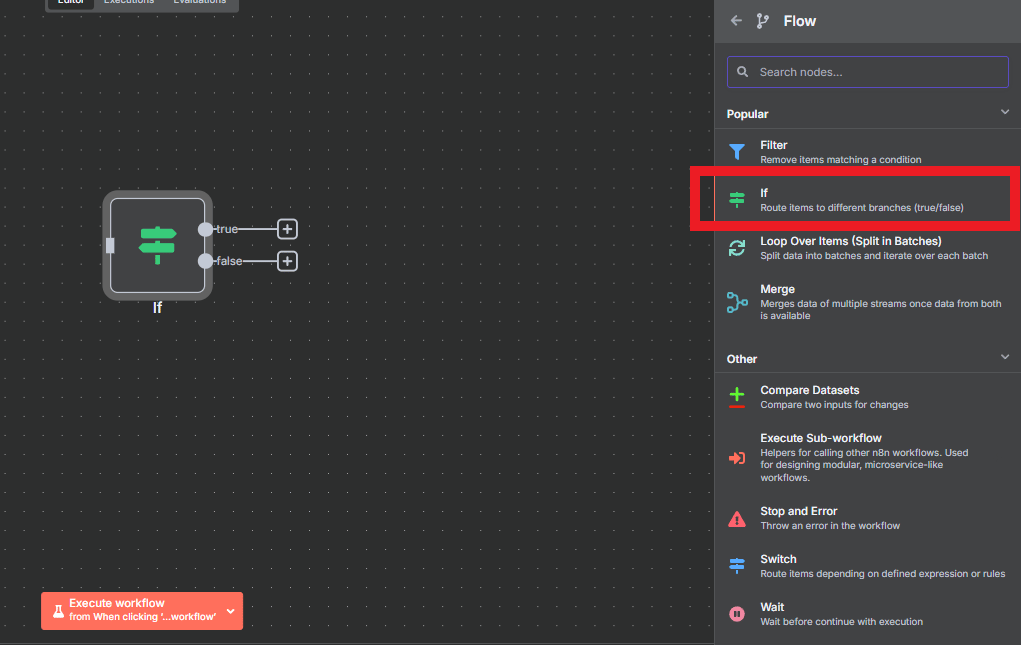
4. The "Choose Your Own Adventure" Law (Branching with Conditions) 🛣️
An n8n workflow is not just a straight line; it's a branching story, like a classic "Choose Your Own Adventure" book. The IF and Switch nodes are the points in the story where your data gets to make a choice.
This is your "if this, then that" logic. It allows you to build intelligent systems that can react differently to different situations:
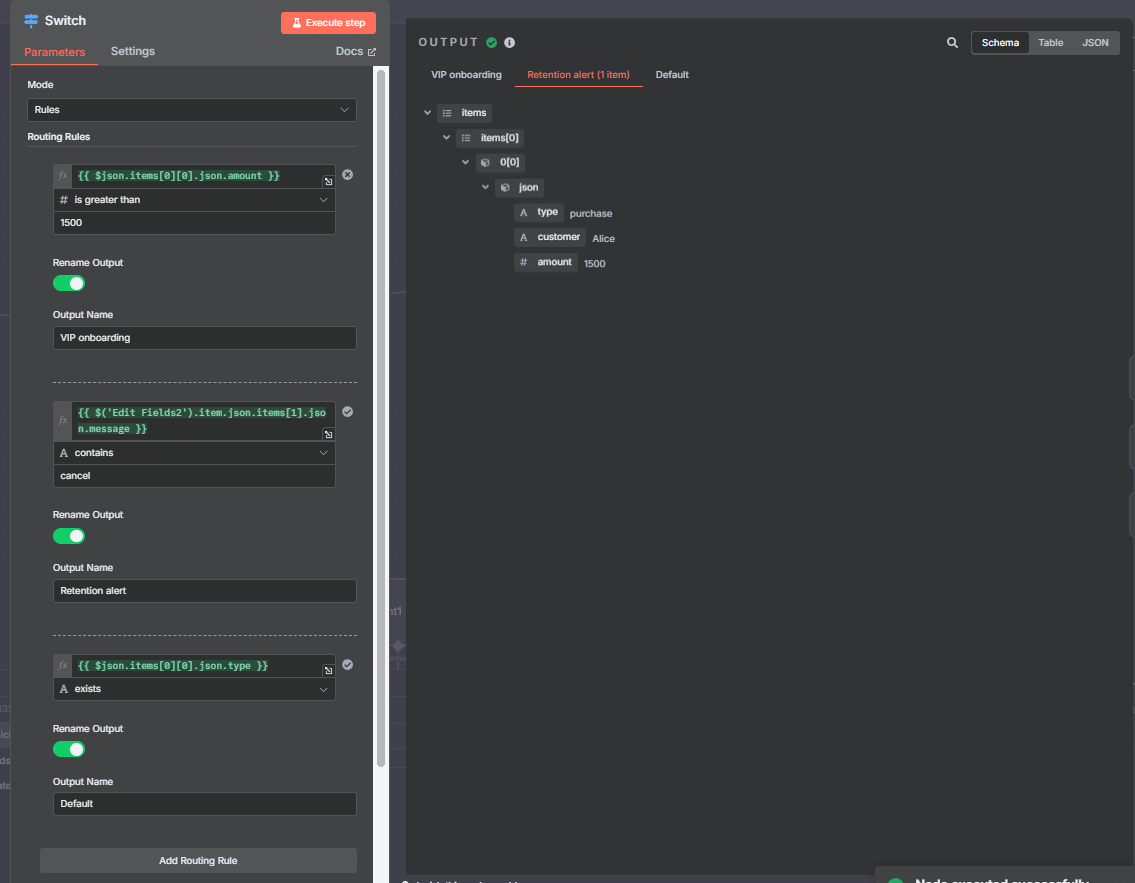
If a new customer's purchase amount is greater than $1,000, send their data down the "VIP Onboarding" path.
If an incoming support ticket contains the word "cancel", immediately route it down the "High-Priority Retention Team" path.

5. The "Safety Switch" Law (The Active/Inactive Toggle) 🎬
Every n8n workflow has a big, red "safety switch" in the top-right corner of the editor. By default, this switch is in the "OFF" (Inactive) position.
Inactive Mode is your safe, development sandbox. The machine will only run when you press the manual "Test workflow" button. Nothing can happen automatically.
Active Mode is when you take the safety off. By flipping this switch to "ON", you are making your workflow live. It will now listen for and respond to its real-world triggers, like a schedule or a webhook.

This is the final, critical step that transforms your creation from a project in a test lab into a live, production-ready system.
Category 2: The Starting Pistols (Your Basic Triggers) 🔫
Every automation needs a "start" button. These three essential trigger nodes are the starting pistols that kick off almost every workflow you will ever build.
Node 1: The Manual Trigger (The Lab Switch)
The Manual Trigger is your indispensable tool for testing and development. Think of it as the big red button in your science lab; it lets you run your experiment on demand to see what happens.

Its sole purpose is to allow you to manually execute a workflow at any stage of the building process. This provides instant feedback, letting you check your logic and data transformations without having to wait for real-world events. You'll click this button thousands of times on your journey to becoming an automation pro.
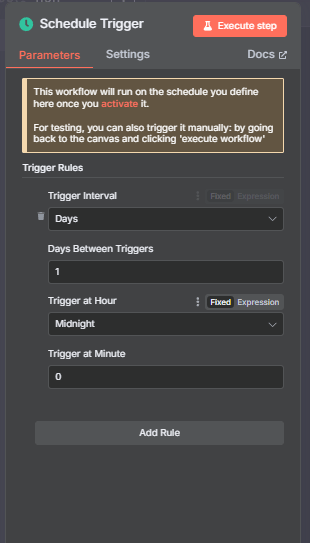
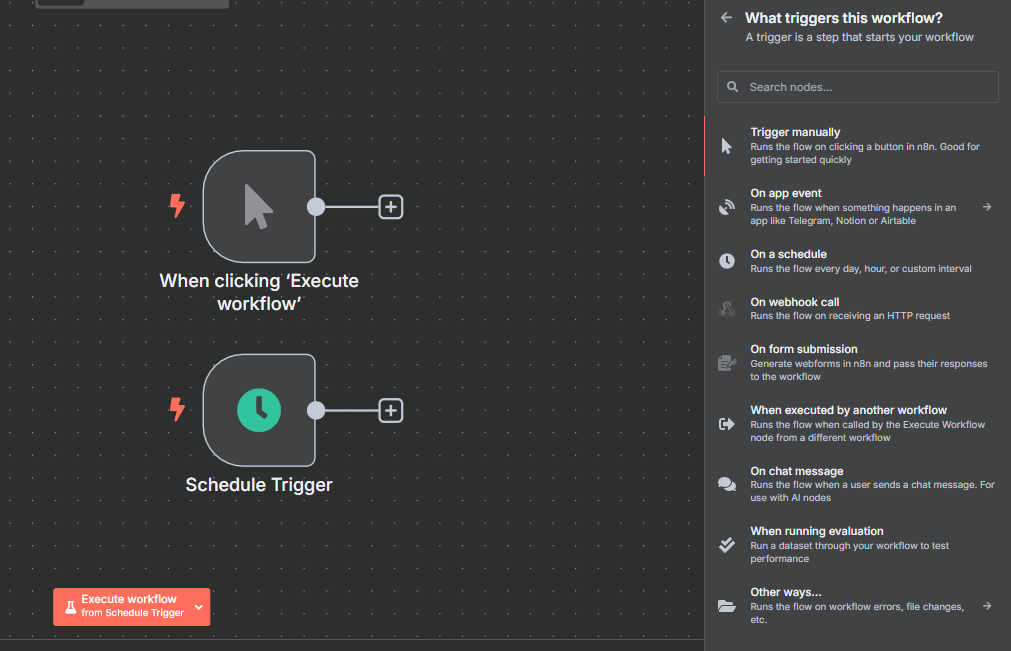
Node 2: The Schedule Trigger (The Alarm Clock) ⏰
The Schedule Trigger is the workhorse for all time-based automation. It's a simple but powerful alarm clock for your workflows.

You use this node to start a workflow on a specific, recurring schedule. This is perfect for routine tasks like generating daily sales reports every morning at 8 AM, running a weekly data backup every Sunday night or processing monthly invoices on the first of the month.
Node 3: App Event Triggers (The Motion Detector) 🚨
App Event Triggers are the key to building smart, reactive automations. Instead of your workflow constantly asking an app, "Is there anything new yet?", this trigger acts like a motion detector. It patiently waits for an app to send a signal and it only runs the workflow when something has actually happened.
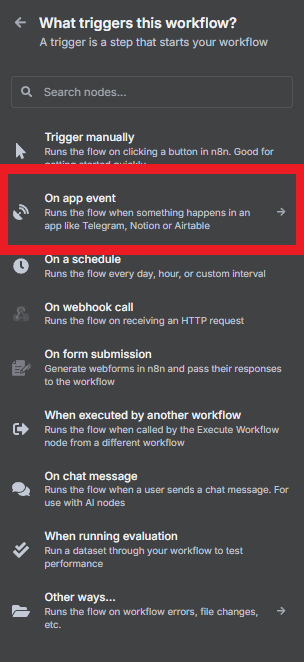
This is far more efficient and is used for tasks like:
Starting a customer onboarding workflow when a new row is added to a Google Sheet.
Triggering an email analysis when a new email is received in a specific Gmail folder.
Choosing Your Trigger: The Golden Rule
The professional workflow is simple: Always start building with a Manual Trigger for easy testing. Add your Schedule or App Event Trigger later and only activate the workflow when you are ready for it to go into production.
Category 3: The Heavy Machinery (Universal Data Processing) 🏗️
This is the heart of n8n. It's the factory floor where the real work happens. Master these seven "heavy machinery" nodes and you will be able to transform any messy data into a clean, structured and valuable asset.
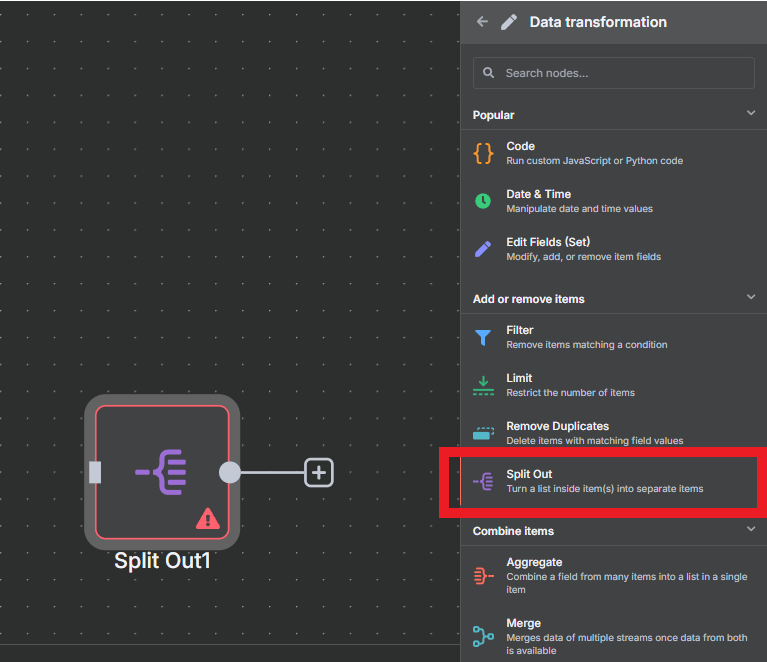
Node 4: The "Log Splitter" (Split Out) 🪓
The Split Out node is your tool for breaking down big things into small, manageable pieces.
Its core function is to take a single item that contains a list of records (an array) and split it into multiple individual items. This is essential for processing items in a list one by one, like sending a personalized email to each person from a spreadsheet.
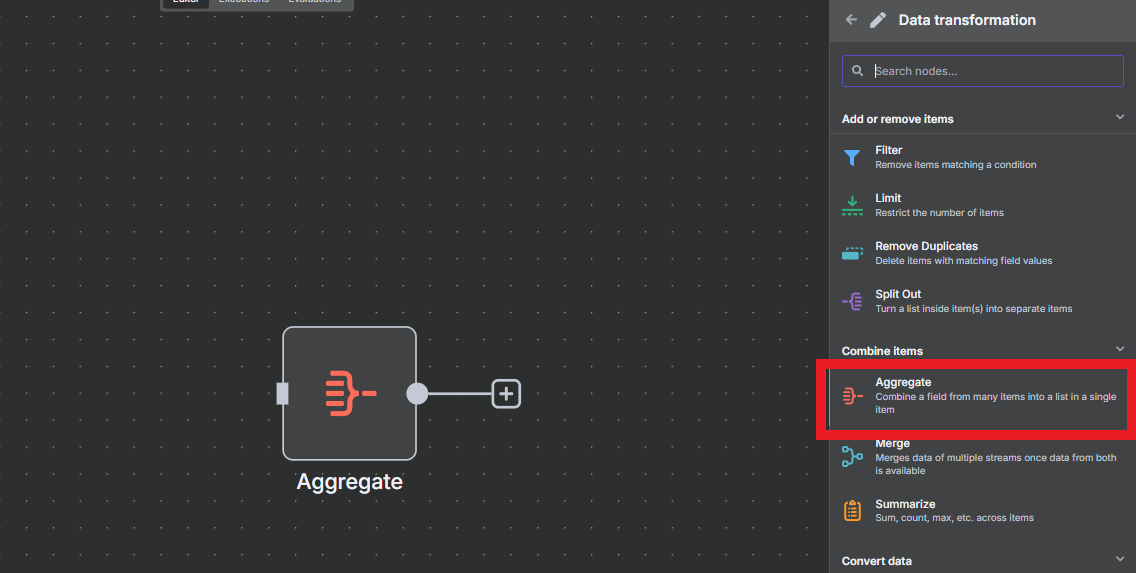
Node 5: The "Data Blender" (Aggregate) 🌪️
The Aggregate node is the exact opposite of the Split Out node. It's the powerful data blender that brings everything back together.
Its job is to take multiple individual items and combine them back into a single item containing a list. You'll almost always use these two nodes as a pair: you Split Out your data to process it, then Aggregate the results to create a single, final summary report.
Node 6: The "Data Janitor" (Edit Fields) 🧹
The Edit Fields node (also known as the "Set" node) is the versatile workhorse you will use in almost every workflow. It's your digital janitor, responsible for cleaning, transforming and organizing your data.

Use it to perform essential tasks like:
Combining a
first_nameandlast_namefield into a newfull_namefield.Formatting dates and phone numbers into a consistent, standardized format.
Removing unnecessary data fields to keep your workflow clean and efficient.

Node 7: The "Bouncer" (IF Node) 🚧
The IF node is your tool for simple, binary decision-making. It acts like a bouncer at a club, checking each piece of data against a specific condition.
It splits your workflow into two distinct paths: a "true" branch for items that meet the condition (they're on the list) and a "false" branch for those that don't (they're not coming in).
Node 8: The "Train Conductor" (Switch Node) 🚂
The Switch node is the "Bouncer's" more powerful older brother. Use this when you have more than two possible paths for your data.

It acts like a train conductor at a major station, looking at a single value on each item and routing it down one of many different tracks. This is perfect for routing support tickets by category (Billing, Technical, Sales) or processing orders by region (North, South, East, West). It's a much cleaner and more organized solution than using multiple, messy IF nodes.
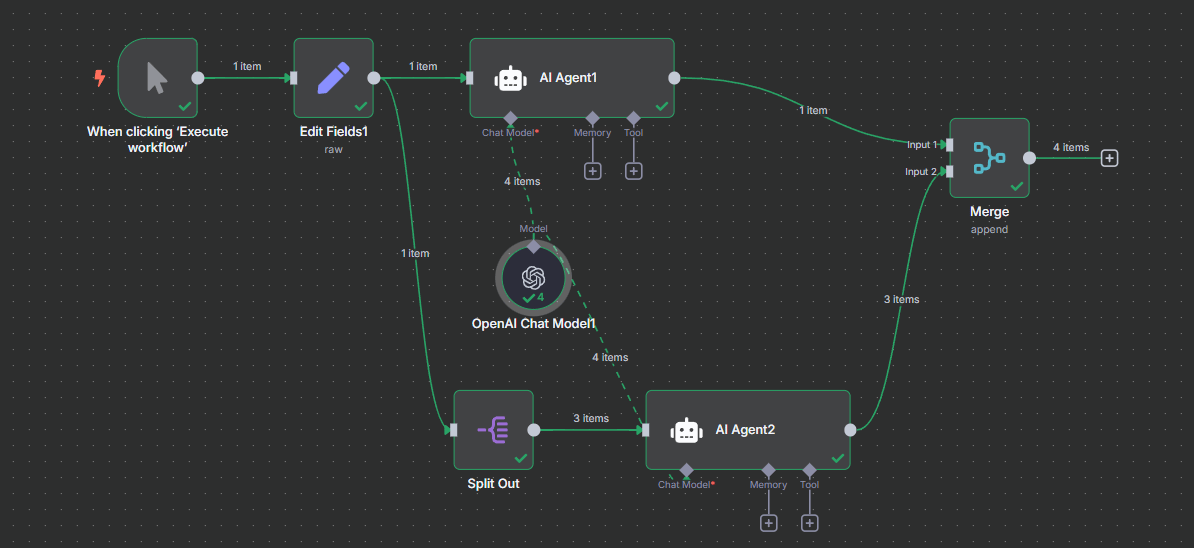
Node 9: The "Railyard Switchman" (Merge Node) 🛤️
The Merge node is the essential counterpart to the IF and Switch nodes. If the Switch node is Grand Central Station sending trains down different tracks, the Merge node is the railyard on the other side of the city.

Its job is to act as the switchman, expertly reuniting multiple different branches of your workflow back onto one single, main track. It patiently waits for all the incoming branches to finish their work before combining their data and passing it along as a single, unified stream for the final steps of your workflow.

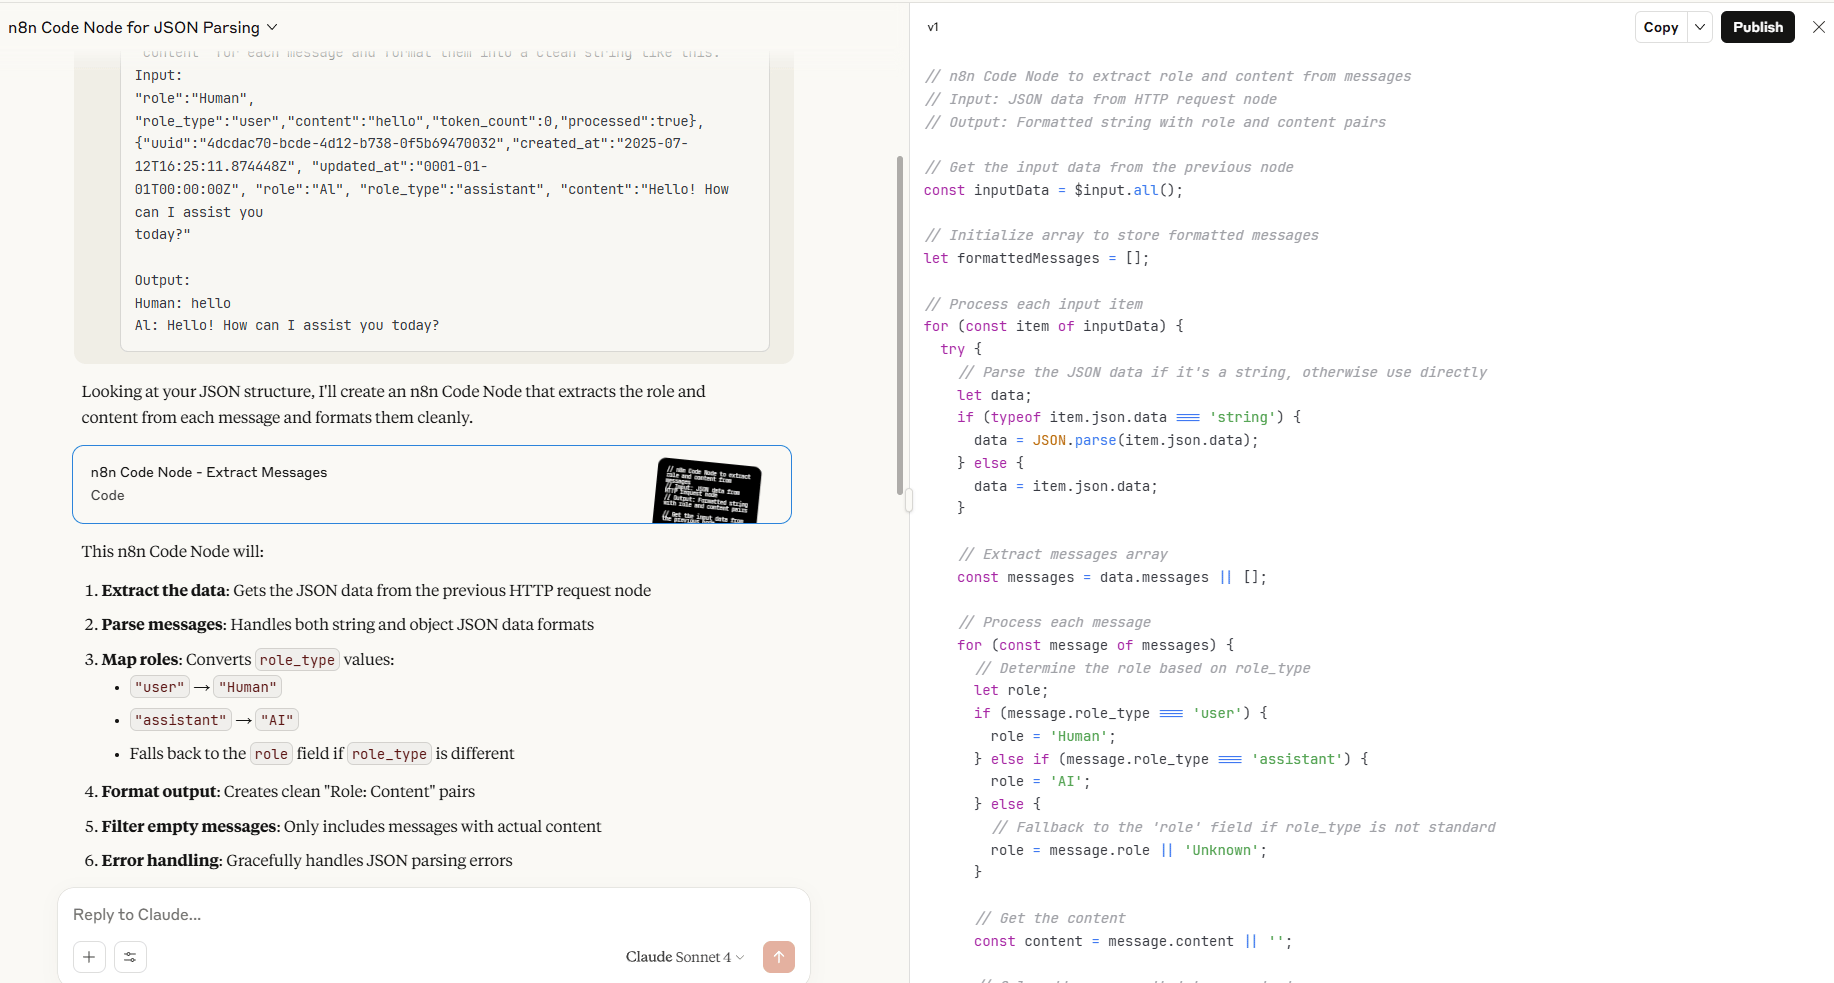
Node 10: The "Get Out of Jail Free" Card (Code Node) 🃏
The Code Node can be intimidating for beginners but it's actually your "get out of jail free" card for any unique or complex data transformation that the other nodes can't handle.

The secret is that you don't need to be a programmer to use it. You can use an AI like ChatGPT, Claude or Grok as your personal on-demand developer. Simply describe what you want to do in plain English, provide an example of your data and the AI will write the custom code for you to copy and paste directly into the node.
Category 4: The Gates to the World (Connectivity & APIs) 🌐
These three nodes are your passport to the rest of the internet. They are the fundamental tools that allow your n8n workflows to both send and receive information from virtually any other application or service.
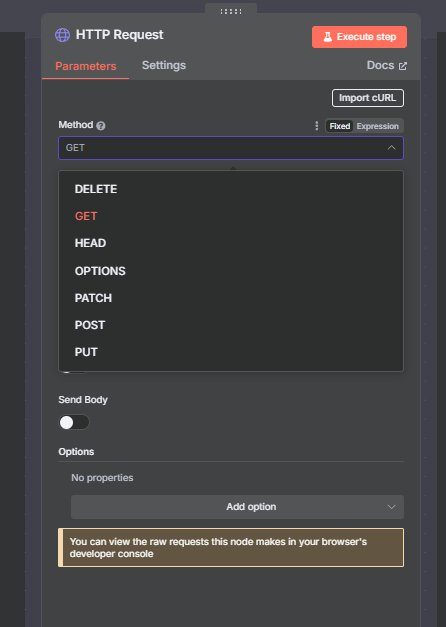
Node 11: The "Librarian on Demand" (HTTP Request) 🔎
The HTTP Request node is arguably the single most powerful node in n8n. It's your universal connector, your key to the entire digital kingdom.

Its core function is to reach out to any service on the internet that has an API to either GET (retrieve) data or POST (send) data. Mastering this one node means you are never limited by n8n's pre-built integrations; if a service has an API, you can connect to it.
Node 12: The "Digital Mailbox" (Webhook) 📬
The Webhook node is the exact opposite of the HTTP Request node. Instead of your workflow reaching out to get data, it creates a unique URL that allows other services to send data to you.
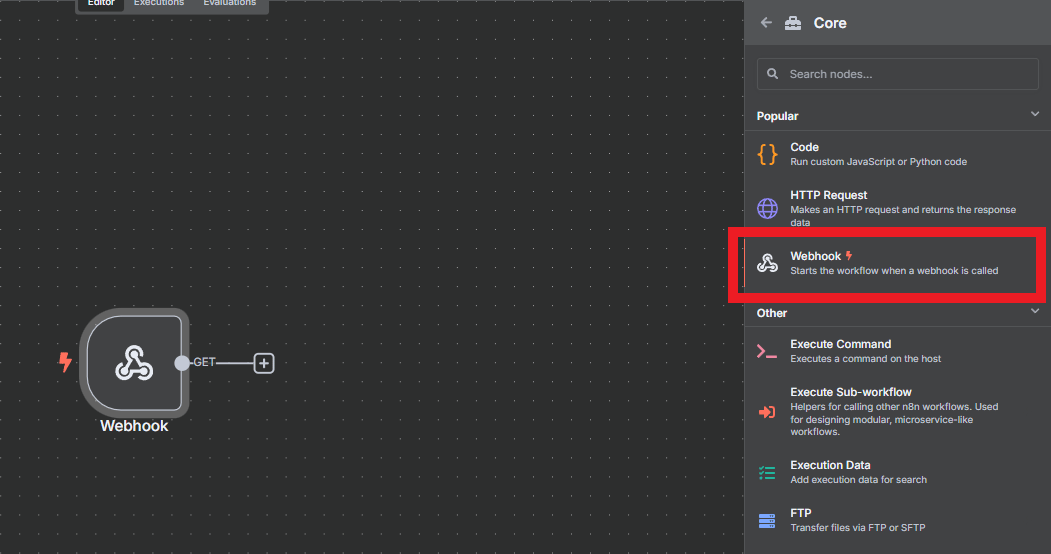
Think of it as your own personal, automated digital mailbox. This is how you build reactive automations that are instantly triggered by external events, like a completed payment in Stripe, a new form submission on your website or a new message in a Slack channel.
Node 13: The "Delivery Confirmation" (Respond to Webhook) 👍
The Respond to Webhook node is a simple but crucial piece of digital etiquette. When an external service sends data to your webhook, it's often expecting a confirmation that the message was received successfully.
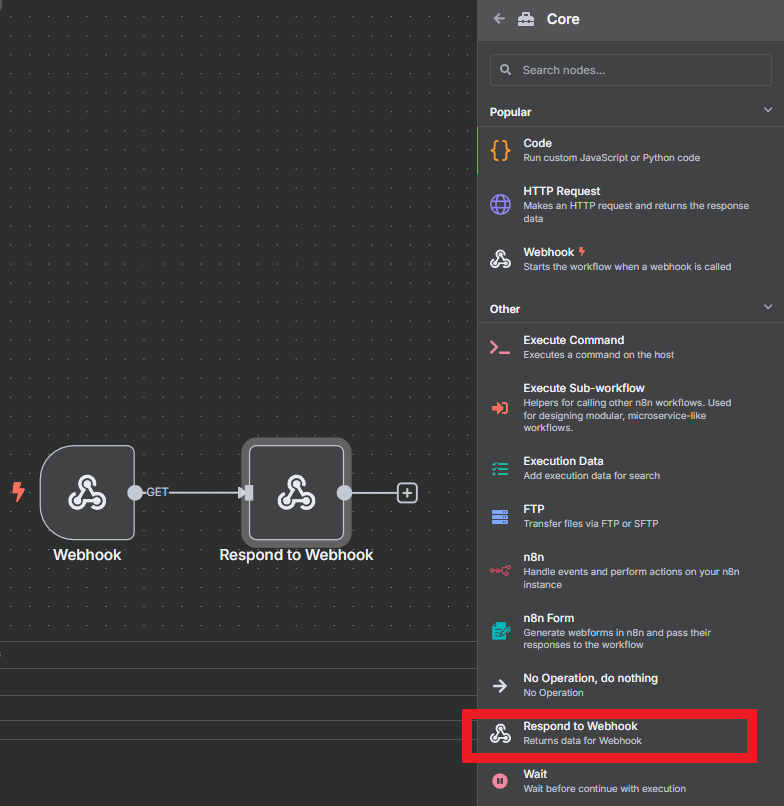
This node's job is to send that immediate "Roger that, message received" confirmation back to the sending service. This is a critical step for building strong integrations, as it prevents the sending service from thinking the message failed and trying to send the same data multiple times.
Creating quality AI content takes serious research time ☕️ Your coffee fund helps me read whitepapers, test new tools and interview experts so you get the real story. Skip the fluff - get insights that help you understand what's actually happening in AI. Support quality over quantity here!
Category 5: The Brains and the Library (AI & Storage) 🧠
Finally, we have the nodes that give your workflows intelligence and a place to store their hard work.
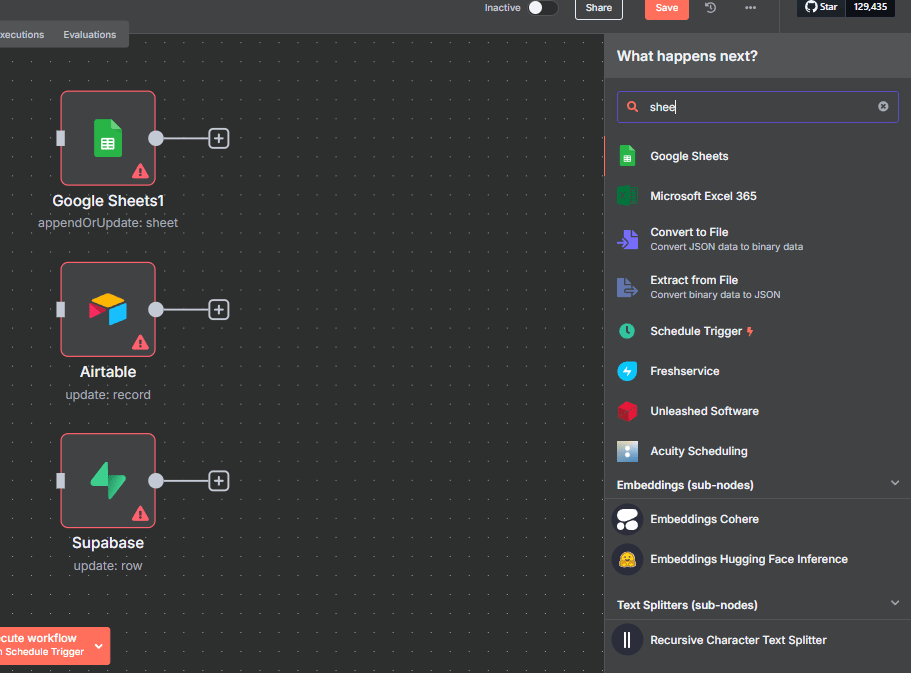
Node 14: The "Librarian's Filing Cabinet" (Google Sheets & Databases) 🗄️
Your automations need a final destination for your processed data. While there are many options, the most common and user-friendly choice is Google Sheets.
It's the perfect starting point because it's easy to view, easy to share and easy to connect to. As your needs grow, you can graduate to more powerful database-like tools like Airtable or a true database like Supabase but the principle is the same: this is the final organized library for all your valuable, automated work.
The AI Brain Trust: Using AI Intelligently 🤖
The final step is adding a brain to your workflows. The key is to use AI only when human-like judgment is genuinely required. Don't use an expensive AI to do simple math that a regular node can handle.
There are two main types of AI brains to choose from:
The "Specialist" (The Basic LLM Chain): This is the node you will use for 90% of your AI tasks. It's a highly focused specialist that is perfect for single-step jobs like sentiment analysis, data extraction or text classification.
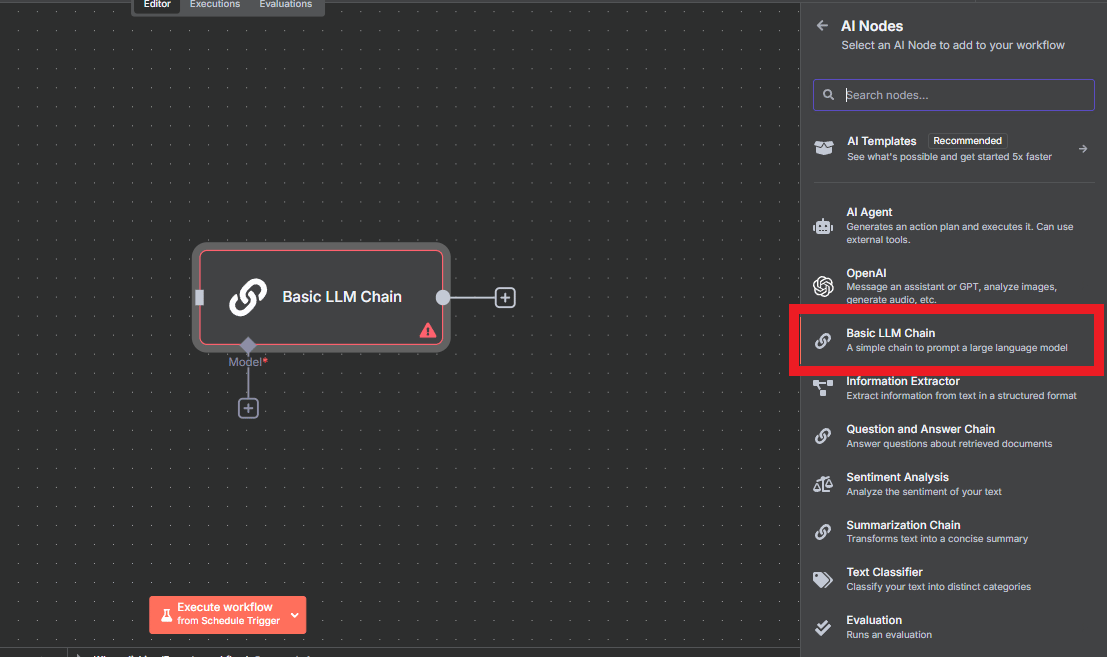
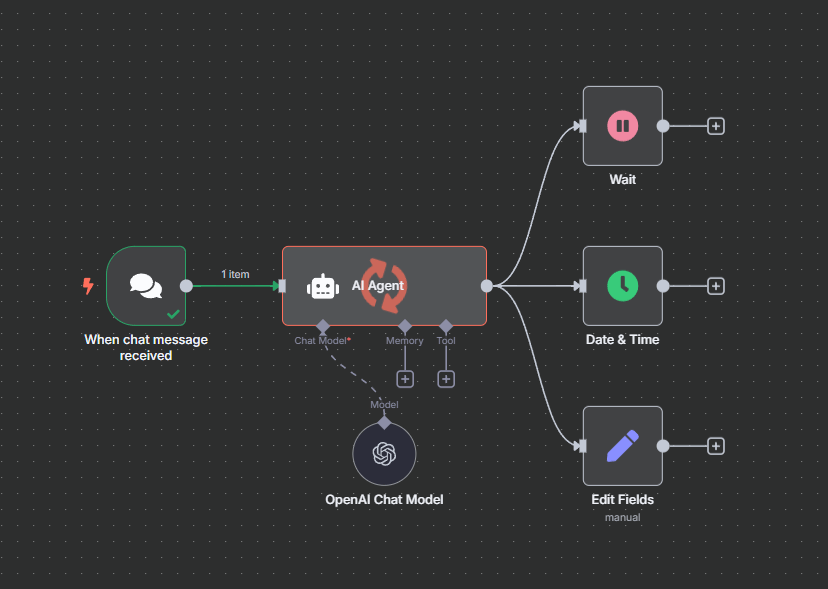
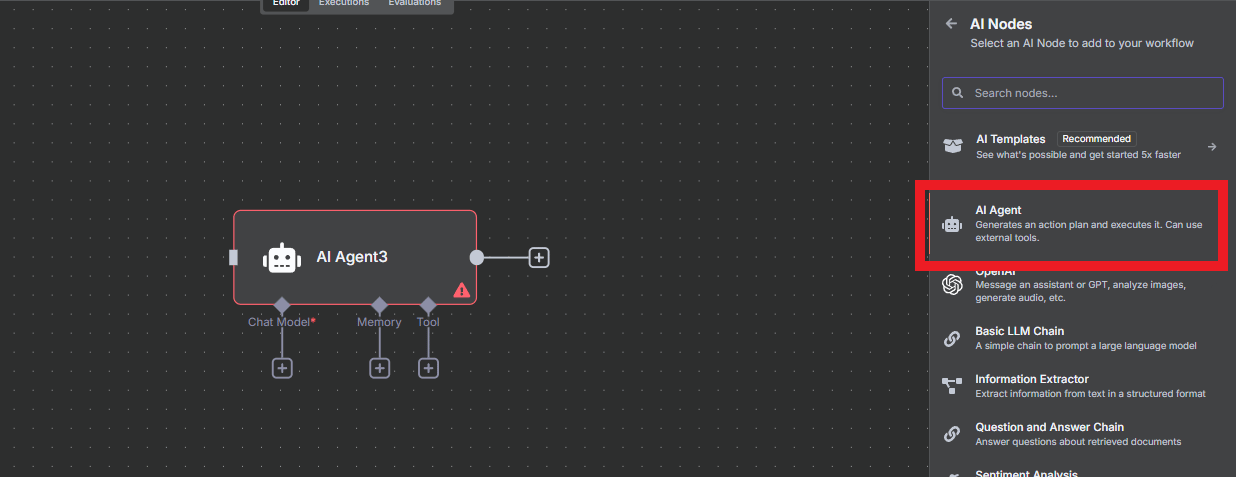
The "Manager" (The AI Agent): You should only bring in this more complex and expensive node when you need a manager - an AI that can have an ongoing conversation with memory or needs to use multiple different tools to solve a complex, multi-step problem.
Your 4-Week Mastery Plan
Week 1: Master the Basics. Focus on the Manual Trigger, a simple data flow and the IF node.
Week 2: Master Data Manipulation. Focus on the "heavy lifting" nodes: Split Out, Edit Fields and Aggregate.
Week 3: Master API Connections. Focus on the HTTP Request and Webhook nodes.
Week 4: Master AI Integration & Storage. Focus on the Basic LLM Chain and save your results to Google Sheets.

Rookie Mistakes to Avoid (The 5 Most Common Traps)
1. The "Eternal Student" Trap: Spending months watching tutorials without ever building anything.
The fix: Start building with these 14 nodes today.
2. The "AI Hammer" Fallacy: Using an expensive AI for simple tasks (like math or text formatting) that a regular node can handle better, faster and for free.

3. The "Data Ignorance" Problem: Not understanding the difference between a single item with a list and multiple individual items.
The fix: Always check your data structure in the output panel before connecting the next node.
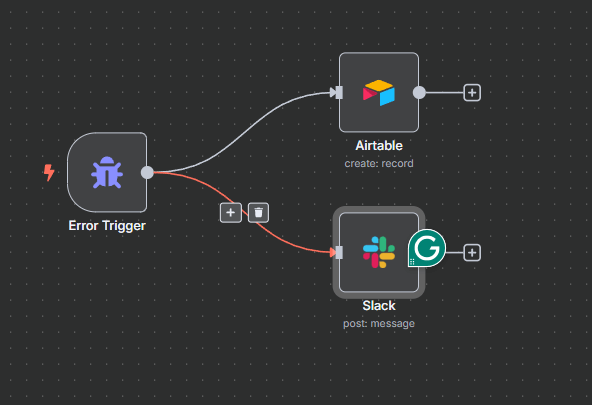
4. The "Happy Path" Delusion: Building workflows that only work with perfect data and have no error handling.
The fix: Add error workflows from the very beginning.
5. The "Sterile Lab" Error: Only testing your workflow with clean, perfect sample data.
The fix: Test your workflow with real, messy, inconsistent data as early as possible to find its breaking points.
The 14-Node Mastery Checklist
Print this out. Keep it by your desk. This is your toolkit.
Triggers (3):
Manual Trigger.
Schedule Trigger.
App Event Triggers.
Data Processing (7):
Split Out.
Aggregate.
Edit Fields.
IF Node.
Switch Node.
Merge Node.
Code Node.
Connectivity (3):
HTTP Request.
Webhook.
Respond to Webhook.
AI & Storage (1+):
Google Sheets (or any database).
Basic LLM Chain (your go-to AI).

Your Mission, Should You Choose to Accept It (Your Next Steps)
This is your call to action. It's time to close the tutorials and open the n8n canvas.
Stop Watching, Start Building. You now have the complete foundational toolkit.
Pick One Painful Problem. Identify one real, repetitive task in your own life or business that you hate doing.
Blueprint Your Solution. Map out a simple workflow to solve that problem using only the nodes from the checklist above.
Build It, Test It, Break It. Build the workflow step-by-step, testing each node as you go.
Launch and Learn. Activate your workflow and let it run in the real world. Iterate and improve it based on its performance.
The most beautiful thing about this approach is that the difference between a beginner and an expert isn't about knowing a thousand different tools; it's about deeply understanding how to creatively combine a few essential ones.
These 14 nodes are your complete toolkit. Master them and there is no automation problem you can't solve.
If you are interested in other topics and how AI is transforming different aspects of our lives or even in making money using AI with more detailed, step-by-step guidance, you can find our other articles here:
Your Inbox Is a Mess - Here’s How an AI Sales Agent Cleans It Up and Wins Deals*
Automate Your Life with n8n: Build Your Own Complex AI Agents with Zero Coding Experience
Boost Your Business: The Power of Warm Leads and Smart Lead Generation*
The Power of AI Automation: It Can Find and Create Viral Reels for You in Minutes
The Ultimate Guide to n8n: Build AI Agents & Simplify Your Workflows
*indicates a premium content, if any
How helpful was this AI Automation article for you? 📝Let us know how it helped your work or learning. Your feedback helps us improve! |
Reply